Motocross tracks are a symphony of dirt and adrenaline, where riders push their machines and themselves to the limit. But behind the soaring jumps and heart-stopping turns lies a science of design, crucial for both rider safety and exhilarating performance. This blog delves into the world of jump design, exploring how jump size, spacing, and configuration cater to different rider skill levels.
Tailoring the Terrain:
The ideal jump size and spacing depend on several factors, including:- Rider Skill Level: Beginners require smaller jumps (5-10 feet long, 1-3 feet high) spaced further apart (20-30 feet) for ample approach, clearance, and landing space. As riders progress, jumps can increase in size (10-30+ feet long, 3-10+ feet high) and proximity (10-25 feet) to create challenging rhythm sections and a faster pace.
- Bike Size: Smaller bikes (50cc to 85cc) typically handle smaller jumps, while larger bikes (250cc+) can tackle more complex terrain.
- Track Layout: Track designers consider overall flow when positioning jumps, creating a natural progression for riders.
- Local Regulations: Some areas may have specific regulations regarding jump size and safety measures.
Beyond the Distance: The Science of Jump Angles
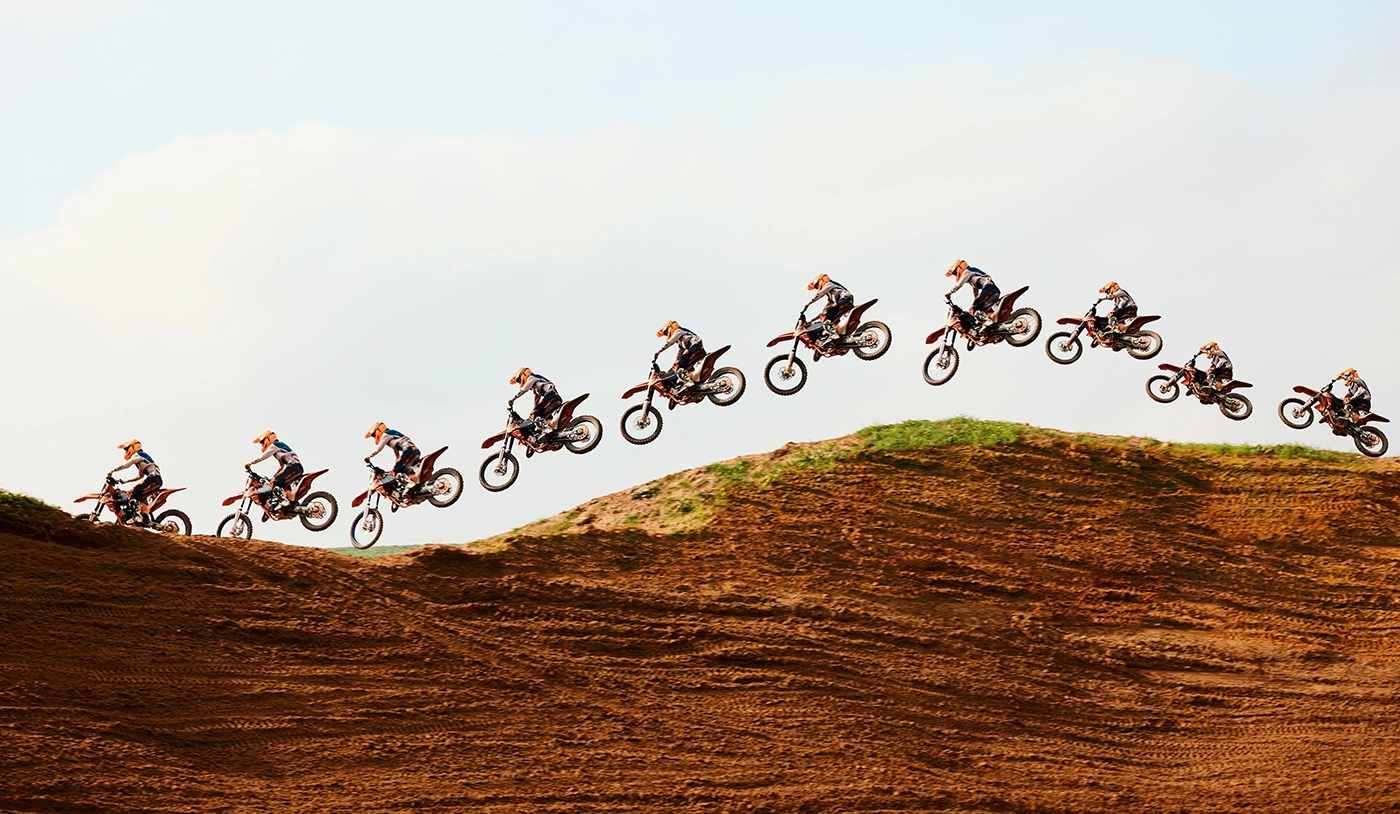
The angle of a jump's lip plays a significant role in how far and high riders fly. Here's a breakdown of the science behind it:- 45-Degree Lip: This "sweet spot" offers the longest distance (15 feet forward at 15 mph) with a moderate height (3.8 feet).
- 35-Degree Lip: Shorter distance (14 feet) and lower height (2.5 feet) compared to 45 degrees.
- 55-Degree Lip: Similar distance to 35 degrees but double the height (5 feet) – ideal for riders seeking airtime.
- 80-Degree Lip: Maximizes height (7 feet at 15 mph) but lands riders where they take off, requiring precise control.
Crafting the Perfect Jump:
When designing jumps, consider these factors:- Speed Requirement: Higher speeds necessitate larger jumps.
- Jump Length and Height: These factors should correlate with intended speed for optimal performance.
- Smooth Transitions: Ensure a gradual slope leading into the jump to prevent jarring impacts.
- Jump Angle: Adjust the angle based on desired distance and height.
- Face Height and Curve: Beginner jumps typically have lower faces and gentler curves, while experienced riders can handle steeper inclines and tighter curves.
Safety First: Essential Considerations
Safety is paramount in motocross. Here are some key considerations:- Landing Zones: Provide adequate landing space with gradual slopes to minimize the force of impact.
- Visibility: Maintain clear sightlines for riders approaching jumps, and utilize signage and flagging to identify jump locations and landing zones.
- Maintenance: Regularly inspect jumps for wear, erosion, or damage, and perform necessary repairs to ensure optimal function and safety.
Conclusion:
By understanding jump design principles and adapting them to your track layout and rider skill levels, you can create a thrilling motocross experience that caters to everyone. Remember, safety should always be your top priority. For more precise jump calculations, an online resource like the hyperphysics.phy-astr.gsu.edu calculator can be a valuable tool. So, grab your gear, hit the gas, and conquer the jumps! Just remember, mastering the motocross track is a journey, and responsible design ensures a safe and exhilarating ride for all.Designing a track of your own? MotoTerra is a free motocross track design app that reads your real land, USGS elevation, USDA soil, flood zones and wetlands, and walks you through the whole build to a plan you can take into the field. Design your track free.