Building a motocross track is an exciting project, but it requires careful planning and attention to detail. This comprehensive guide will equip you with the knowledge to design a track that offers an exhilarating ride while prioritizing safety for all skill levels.
Building the Foundation: Track Layout Essentials
- Analyze the land – Look for natural slopes, hills, and existing obstacles you can incorporate.
- Consider soil composition and drainage to determine construction and maintenance needs.
-
Track Dimensions:
- Measure the available space and determine the track's length, width, and overall layout.
- Ensure adequate space for features, safety zones, and spectator areas.
- Designate safety zones around the track to protect riders in case of accidents.
- Keep obstacles and edges clear of hazards and install safety barriers as needed.
-
Flow Like a Pro:
- Design a smooth and intuitive track layout with a logical progression of turns and obstacles.
- Create a balance of technical sections, straightaways, and rhythm sections to cater to different riding styles.
- Allow for safe passing opportunities to minimize collision risks.
-
Feature Frenzy: Adding Excitement
- Include a variety of jumps, berms, whoops, tabletops, and rhythm sections for diverse riding challenges.
- Space obstacles evenly and vary their sizes and shapes to keep riders engaged.
- Pay close attention to jump placement and landings to ensure smooth transitions and minimize injury risks.
-
Surface Matters:
- Grade the track for optimal riding conditions with smooth transitions and consistent traction.
- Use water to moisten the surface and minimize dust buildup.
-
Sun and Wind Savvy:
- Consider prevailing wind directions and sunlight angles when orienting the track layout.
- Position jumps and straightaways to work with the natural elements and minimize glare or headwinds.
-
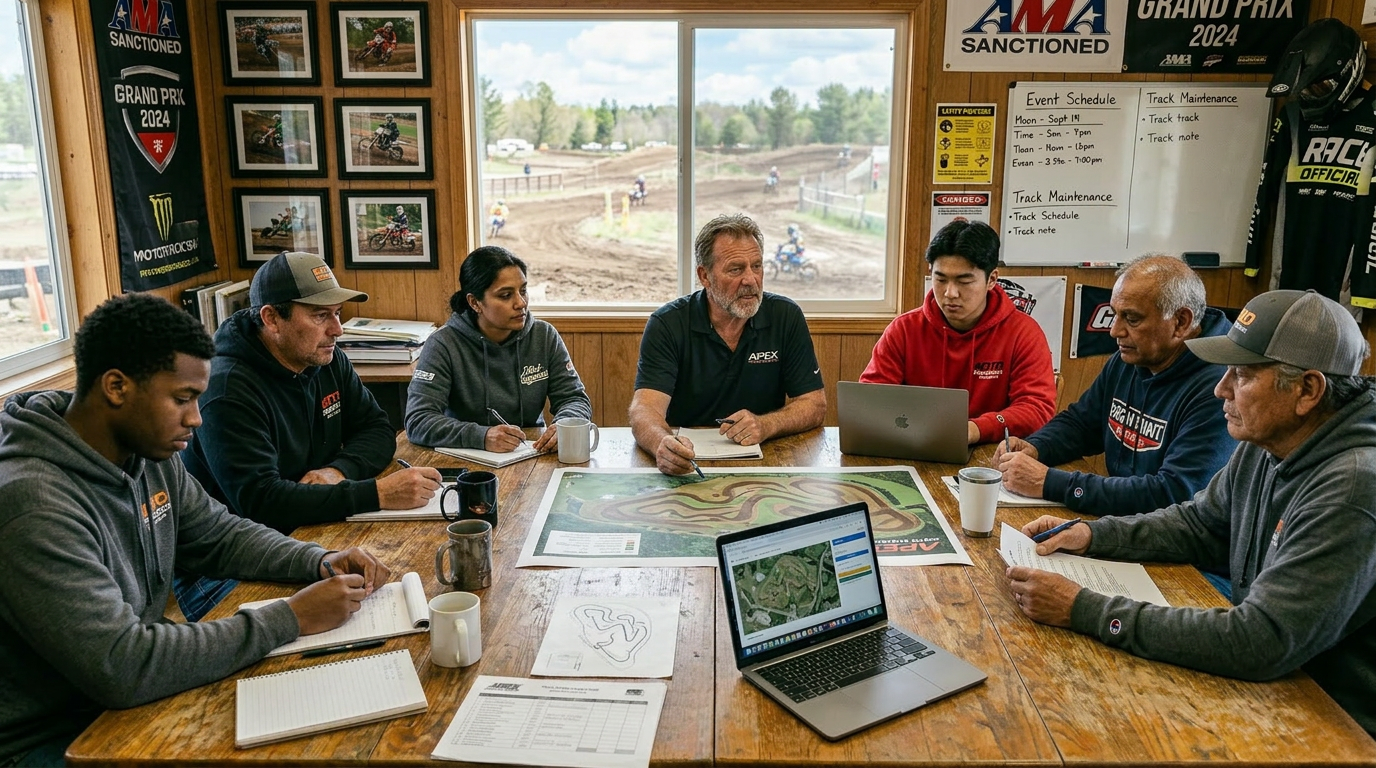
Feedback for Success:
- Share your design with experienced riders, track builders, and stakeholders for insights.
- Incorporate feedback from riders of all skill levels to ensure the track is challenging yet accessible.
-
Continuous Improvement:
- Monitor the track's performance over time and make adjustments based on feedback, weather conditions, and usage.
- Regularly inspect the surface for erosion, rutting, and address issues promptly.
-
Safety Regulations:
- Ensure the track layout adheres to relevant safety standards, regulations, and local ordinances.
- Install safety signage, fencing, and barriers to protect riders and spectators.
Mastering the Art of Jumps: Design, Safety, and Maintenance
Jumps are a defining element of motocross tracks, adding a thrilling element to the ride. Here's how to incorporate them safely and effectively:
-
Skill-Based Sizing and Placement:
- Determine jump size and type based on rider skill levels and track layout.
- Smaller, gentler jumps for beginners, with larger, steeper jumps for advanced riders.
- Ensure jumps are strategically placed to maintain flow and rhythm.
-
Spacing for Control:
- Maintain consistent spacing between jumps for riders to maintain momentum and control.
- Avoid clustering jumps to prevent collisions and hinder progression.
- Provide adequate run-up and landing zones for safe approach and exit.
-
Precise Measurements:
- Use accurate measurements for jumps to meet safety standards and provide a challenge.
- Consider factors like take-off angle, jump height, and landing distance.
- Utilize tools like measuring tapes, levels, and inclinometers for precise assessments.
-
Safe Landings:
- Gradually slope jump landings to reduce impact risks.
- Use natural terrain or build up landing areas with dirt to provide smooth transitions and cushioning.
- Avoid placing obstacles or hazards near landings to minimize collision risks.
-
Variety is Key:
- Integrate a variety of jump types and configurations: tabletops, doubles, triples, step-up/step-down sections.
- Experiment with shapes and angles to create unique challenges and opportunities for creativity.
-
Maintenance Matters:
- Regularly inspect jumps for wear, erosion, or damage, and make repairs as needed.
- Monitor jump surfaces for rutting, erosion, or compaction, and perform maintenance like regrading or adding fresh dirt.
- Keep jump faces and landings clear of debris to prevent rider hazards.
Jump Sizing and Spacing Recommendations:
While specific recommendations can vary based on factors like rider skill level, bike size, and local regulations, here's a general guideline:
-
Jump Sizes by Bike Size:
- 50cc to 85cc bikes: 5-10 feet long, 1-3 feet high (beginner riders)
- 125cc to 250cc bikes: 10-20 feet long, 3-6 feet high (intermediate riders)
- 250cc and larger bikes: 15-30+ feet long, 5-10+ feet high (advanced riders)
-
Jump Spacing:
- Beginner Tracks: 20-30 feet between jumps for ample space to approach, clear, and land.
- Intermediate Tracks: 15-25 feet between jumps for smoother transitions and rhythm sections.
- Advanced Tracks: 10-20 feet between jumps for a faster pace, challenging rhythm sections, and technical jumps.
-
Jump Shapes and Configurations:
- Tabletop Jumps: Flat landing surfaces, ideal for beginners and adaptable to various skill levels.
- Doubles and Triples: Consecutive jumps requiring precise timing and skill (common on intermediate/advanced tracks).
- Step-Up/Step-Down Jumps: Step-up jumps involve inclines on the landing side, requiring riders to "step up." Step-down jumps feature declines for a challenging descent.
The Science of Jump Angles:
Understanding how jump lip angles affect distance and height is crucial for design:
- 45-Degree Lip: Longest distance (15 mph: 15 feet forward, 3.8 feet up)
- 35-Degree Lip: Less distance and height (15 mph: 14 feet forward, 2.5 feet up)
- 55-Degree Lip: Similar distance to 35 degrees, but double the height (15 mph: 5 feet up)
- 80-Degree Lip: Maximum height (15 mph: 7 feet up), lands riders where they take off.
- Vertical Lip: Shoots riders 7.5 feet up but lands them where they take off.
Remember: This is a non-linear relationship. Doubling speed quadruples both height and distance. Suspension and technique also significantly impact jump size. For precise calculations, watch this video
Designing Jumps for Success:
For the motocross enthusiasts who crave the technical details, this section dives into the science behind jump design. Here's a breakdown of how jump lip angles affect distance and height:
- Jump Angle and Distance/Height: A 45-degree lip offers the longest distance, propelling riders furthest. At 15 mph, they'd fly 15 feet beyond the lip and 3.8 feet above it. Steeper angles like 80 degrees maximize height, launching riders seven feet in the air at the same speed.
Remember, this is just the tip of the iceberg! The relationship between jump angle, speed, distance, and height is complex. Doubling your speed quadruples both height and distance, but factors like suspension and rider technique significantly impact jump size.
For a deeper dive check out the online jump calculator.
Crafting the Perfect Jump: Essential Considerations
When designing jumps, consider these key elements:
- Speed Requirement: Higher speeds are necessary for greater jump distance and height.
- Jump Dimensions: Design jump length and height to accommodate the desired speed.
- Smooth Transitions: Ensure smooth take-off and landing zones to prevent rider discomfort and bike damage.
- Jump Angle: Tailor the angle based on your goals. A 45-degree angle is ideal for distance, while 60 degrees or higher prioritizes height.
- Face Height and Curve: Steeper faces and tighter curves challenge experienced riders, while beginners benefit from gentler slopes and curves.
Designing jumps is an art form that requires balancing these factors to create safe and exhilarating experiences for all skill levels.
Safety First: Always a Priority
Safety remains paramount throughout the design process. Here are key considerations for jumps:
- Landing Zones: Ensure ample length and gradual slopes for safe landings, minimizing impact risks.
- Visibility: Maintain clear sightlines for riders approaching jumps, with proper signage and flagging to indicate jump locations and landing zones.
- Maintenance: Regularly inspect jumps for wear, erosion, or damage, and perform necessary maintenance to keep them safe and functional.
Building a Track for All
When designing a motocross track, prioritize the skill levels of riders who will be using it, adhering to local regulations and safety standards. By following these guidelines and adapting them to your specific track layout and rider abilities, you can create a fun and challenging course that caters to all.
Remember: The perfect track design is a constant evolution. Continuously gather feedback, monitor track performance, and prioritize maintenance to keep your track in top shape, providing countless hours of enjoyment for motocross enthusiasts of all stripes! Here are cost and consideration related to building a motocross track.